Using GIT
Motivation
Why use Git? If you are interested in doing any/all of the following
- Use GIT for maintaining your code/design project files.
- Collaborate with teammates over the cloud (think Google docs but for project files).
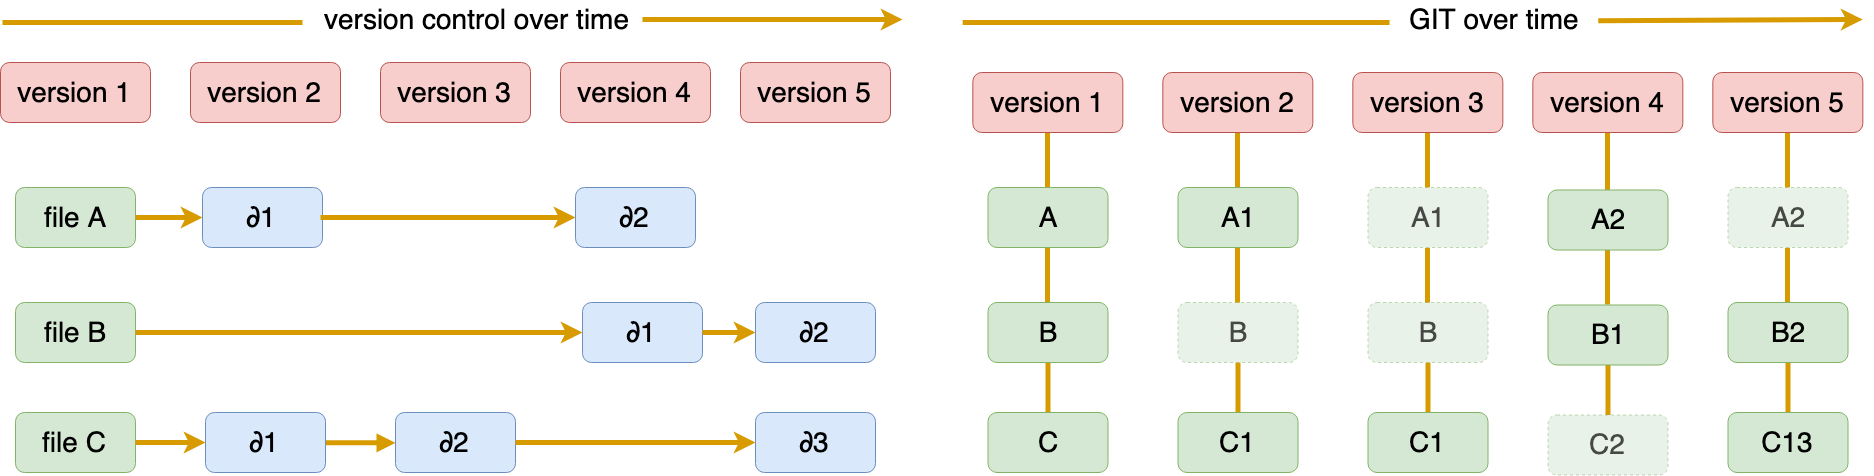
- Better than backups: https://git-scm.com/book/en/v2/Getting-Started-What-is-Git%3F (GIT stores entire files that have been changed -- see Figure below. For each version of GIT we have to manually "stage" the changed files to be tracked.
- Publish/access open source code.
This guide teaches you step-by-step how to get started with github, or other flavors of git (using the command line).
Installation
Mac OS:
-
Open terminal.
-
$
git --versionIf you see output like:
git version 2.20.1 (Apple Git-117); Git is installed.Otherwise you will be prompted to install xcode tools. Please follow steps to install these.
Linux
In console
$ sudo apt install git.
Windows
Download Installer
https://git-scm.com/download/win
Please install git-bash as well. We will assume you are using git-bash to execute bash commonds on Windows.
Lifecycle
The git lifecycle includes creating versions ("commits") of your development folder as and when it changes. You will
"add" files to be "tracked" in your folder by the git add command. You stage the added files for a "commit" (version) by using the git commit. If your repository is maintained on the cloud, you will need git push to sync the new version created with your cloud (remote) repository.
You can create a remote repository by hosting your own git server, or use Git-as-a-Service(GaaS) providers like GitHub, GitLab, Bitbucket etc. The following tutorial uses Github as GaaS, but the command-line steps should work the same with any GaaS.
Step-by-step
- Create a Github account
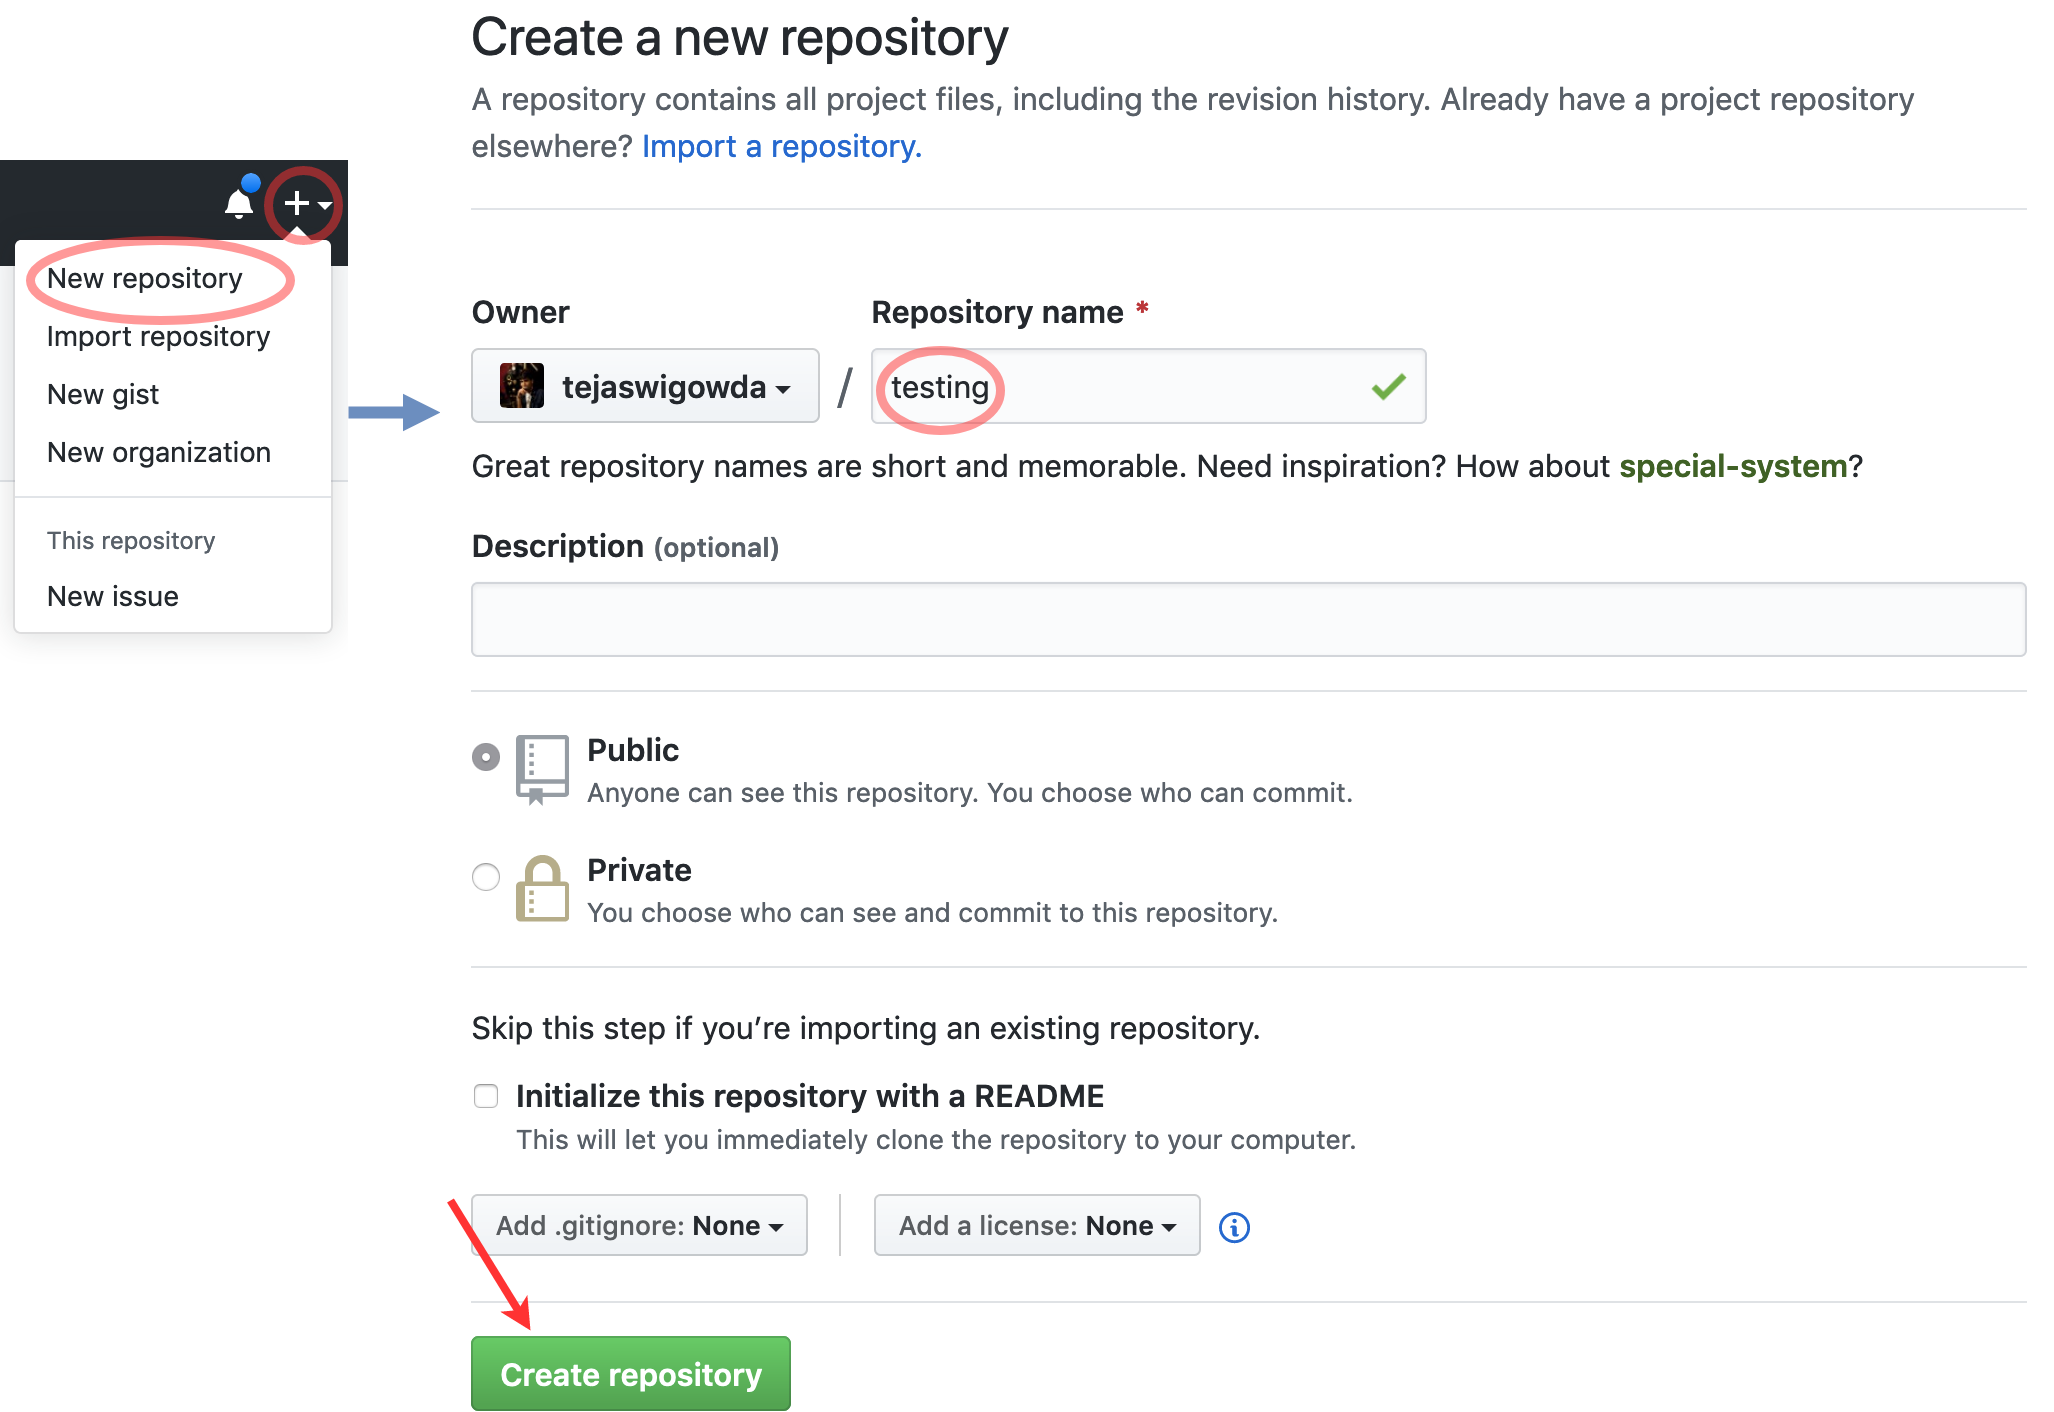
- Create a Github Repo
- Find repo url
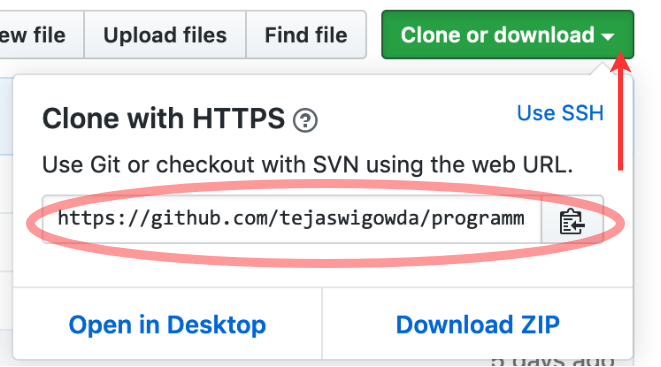
-
Clone repo $
git clone <yout repo-url>This will create a folder with the repo name and "checkout" the lastest commit. -
cd to new folder created, you can now add/edit delete/files from this folder.
-
To create new commit $
git add *$git commit -m "<your-message>" -
To sync your repo with cloud repo $
git push -
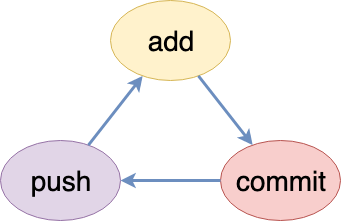
Continue editing your project files and to create a new version use git commands
add->commit->push(Figure 2.4.2).
GIT Command Reference
git config: set your user name and email.git init: initialise a git repository.git clone: close your git repo.git status: status of git repogit add: stage files for commitgit commit: create commit. use -m flag to ad message (recommended)git push: sync local commits to remote repo.git pull: sync remote commits to local clone.